There is a beautiful simplicity in products that arrive ready to fulfill their purpose without requiring endless preparation. The self-adhesive wall molding kit with paint-ready finish embodies this philosophy perfectly, delivering two essential innovations in one comprehensive package. The self-adhesive backing means installation requires no nails, no glue guns, no messy construction adhesives. The paint-ready finish means the molding accepts color immediately, with no priming, no sanding, no waiting. Together, these features create an experience that is as close to instant gratification as home improvement gets. For anyone who has ever admired the character that molding adds to a room but hesitated at the complexity of traditional installation, these kits offer a revelation. They arrive at your door complete and prepared, requiring only your vision and a weekend afternoon to transform plain walls into architectural features. The result is elegance achieved efficiently, beauty without bureaucracy, the walls you have always wanted without the work you have always dreaded.
The Convenience of Self-Adhesive Technology
Understanding what makes self-adhesive molding so convenient begins with appreciating what it eliminates from the traditional installation process. Conventional molding requires construction adhesive that must be applied evenly, often with messy results, or finish nails that demand a nail gun and the skill to use it without damaging the material. Both methods require waiting for adhesives to cure or taking time to fill and sand nail holes. Self-adhesive molding bypasses all of this entirely. The industrial-strength adhesive is precisely applied during manufacturing, engineered specifically for the molding material and tested for long-term performance. When you are ready to install, you simply remove the protective backing and press the piece into place. The adhesive bonds immediately, holding the molding securely while you continue to the next piece. There is no waiting, no cleanup, no specialized equipment. This simplicity transforms the installation experience from a construction project into something closer to decorating, accessible to anyone regardless of their DIY experience level.
The Advantage of Paint-Ready Surfaces
The paint-ready finish on these molding kits represents another significant advancement in user-friendly design. Traditional wood molding requires sanding to smooth manufacturing roughness, followed by priming to seal the wood and prevent tannins from bleeding through paint. Even primed moldings from home improvement stores may have uneven surfaces that require additional preparation. The paint-ready finish on quality self-adhesive kits eliminates these steps entirely. The surface is engineered during manufacturing to be perfectly smooth and optimally receptive to paint. It has the right amount of tooth for paint to grip without being rough to the touch. It is uniformly white, providing an ideal base for whatever color you choose. This means your first coat of paint goes on smoothly and evenly, covering completely with minimal effort. The result is a finish that looks professionally sprayed, even if you are working with a simple brush and roller. For anyone who values their time and wants beautiful results without endless preparation, the paint-ready finish is a gift.
What Your Kit Includes
Opening a self-adhesive wall molding kit with paint-ready finish reveals a thoughtfully organized collection designed for immediate use. The primary components are the molding pieces themselves, manufactured from lightweight polyurethane or high-density foam composites in profiles ranging from clean modern to elegantly traditional. Each piece arrives with the protective backing paper covering the precision-applied adhesive, keeping it fresh until the moment of installation. Alongside the straight molding lengths, you will find coordinating corner pieces that simplify the creation of clean intersections. These corner elements are essential for achieving professional-looking results without complex miter cuts. Many kits include splice connectors that allow you to join pieces seamlessly on long walls, creating continuous runs without visible seams. Some comprehensive kits go further, providing alignment tools, installation templates, and detailed instructions specifically written for self-adhesive application. Everything you need is in the box, ready to transform from packaging to permanent installation in the time it takes to watch a movie.
Preparing Your Walls for Success
While the self-adhesive technology is remarkably forgiving, proper wall preparation remains essential for optimal results. Begin by thoroughly cleaning the areas where molding will be applied, using a solution of mild dish soap and warm water to remove dust, grease, and any invisible residues that might compromise the adhesive bond. Pay special attention to kitchens and other areas where cooking vapors may have deposited a film on the walls. Rinse with clean water and allow the walls to dry completely, ideally overnight to ensure no moisture remains trapped beneath your molding. Once dry, inspect the wall surface carefully. Small bumps or rough patches can be gently sanded smooth with fine-grit sandpaper. Any holes or cracks should be filled with spackle, sanded flush, and cleaned of dust. The goal is a perfectly smooth, perfectly clean surface that allows the adhesive to make maximum contact across the entire back of each molding piece. This preparation takes an hour or two but pays dividends in the longevity and appearance of your finished project.
Designing Your Wall Composition
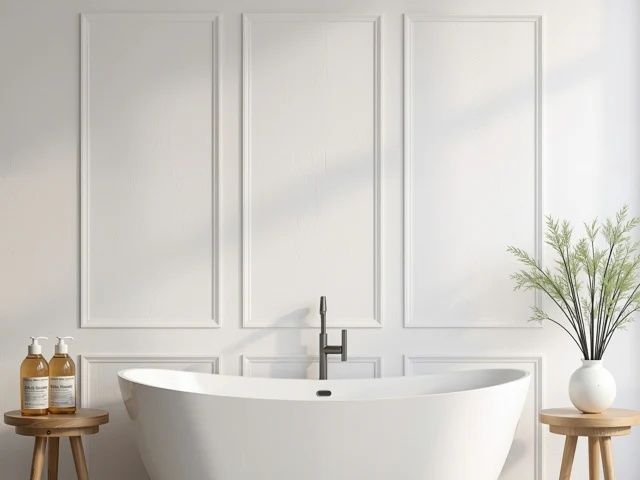
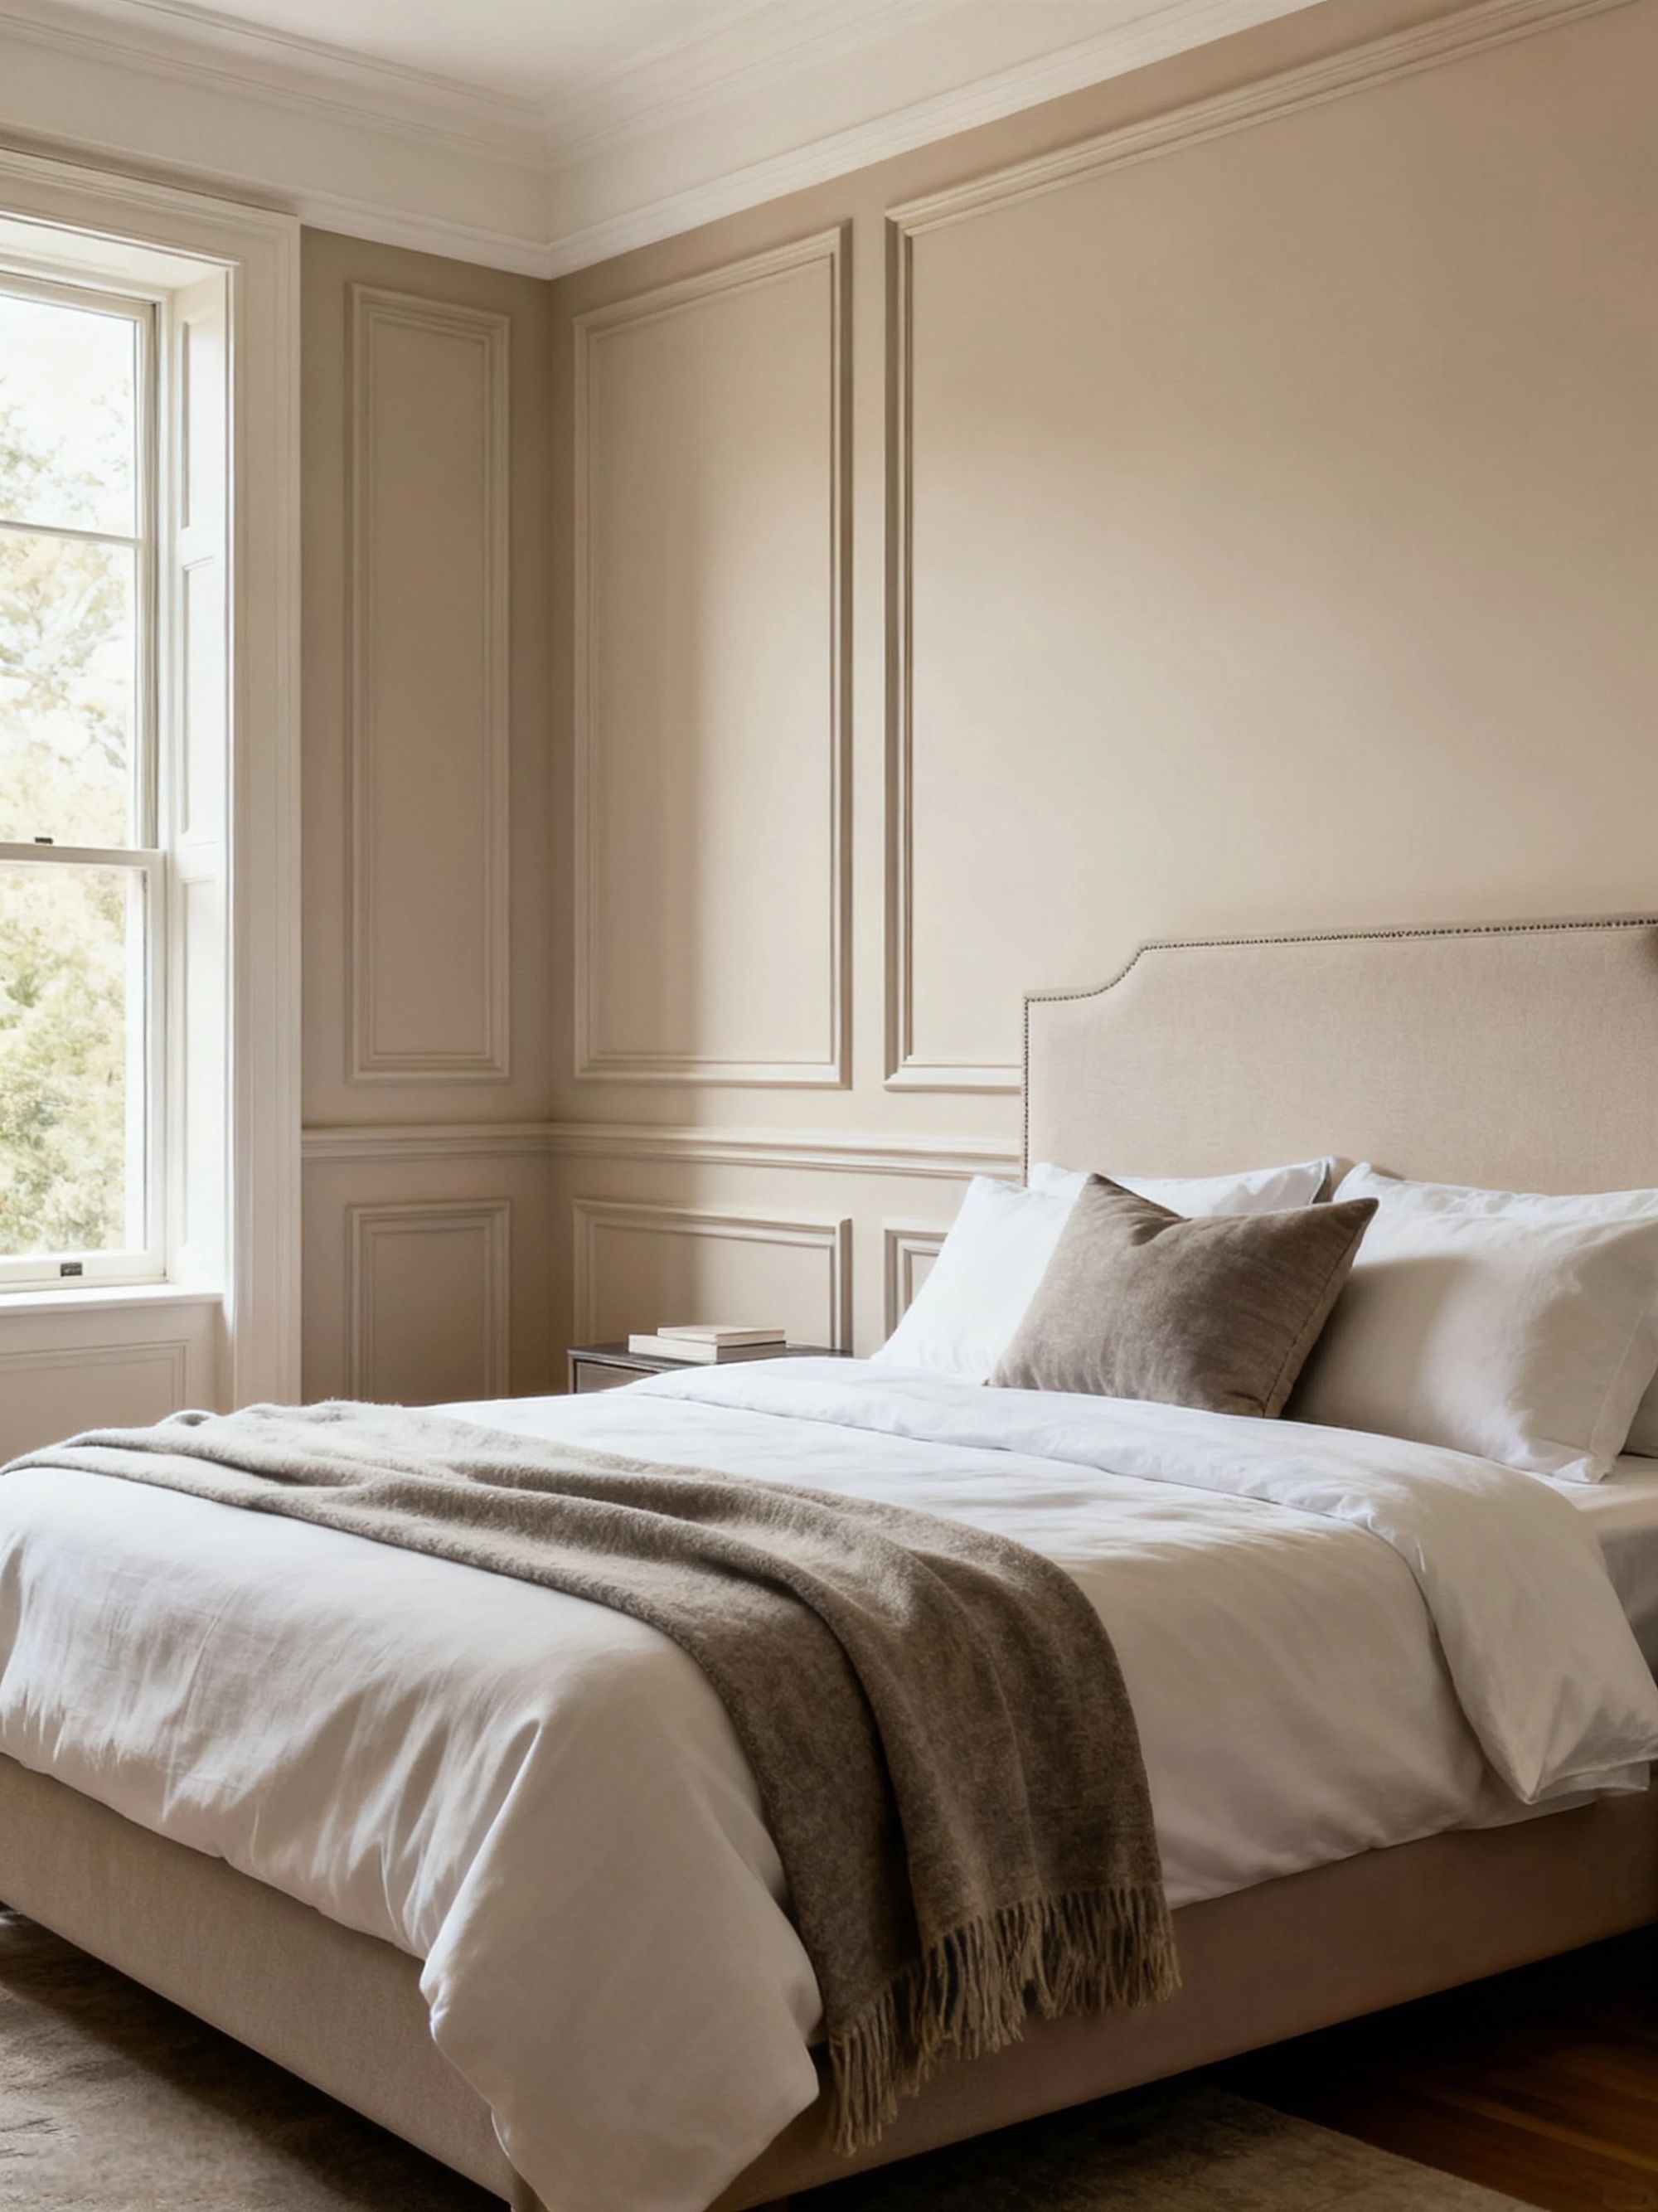
With clean walls and your kit unpacked, the creative heart of the project begins: designing your wall composition. The beauty of self-adhesive systems is that you can experiment freely before committing to permanent placement. Use painter's tape to outline your proposed molding positions directly on the wall, creating a full-scale mock-up of your design. This allows you to step back, view the composition from different angles, and make adjustments before any adhesive touches the wall. Consider the proportions of your room and how your molding will interact with furniture and architectural features. In a living room, you might create a series of panels that relate beautifully to your sofa and console tables. In a dining room, think about how frames will align with your table and sideboard. In a bedroom, consider creating a single large panel behind the bed as a headboard alternative. This design phase is pure creative exploration, and the only rule is that you should love what you see. Once you settle on a layout that feels right, use a level and pencil to transfer your design as light guidelines on the wall.
The Simple Joy of Installation
With your design finalized and guidelines marked, installation becomes a remarkably satisfying process. Begin with the largest or most prominent pieces, as these establish the foundation for your composition. Peel away a small section of the backing paper from the top corner of your first piece. Position the molding carefully against your wall guidelines, and when you are confident in its placement, slowly peel away the remaining backing while pressing the molding firmly against the wall. Working from one end to the other helps prevent air bubbles from becoming trapped beneath the surface. Apply firm, even pressure along the entire length, paying extra attention to the edges where the adhesive needs to seal most effectively. A small roller or even a clean wallpaper smoother can help ensure complete contact. Continue around the room, installing each piece in sequence, using your corner pieces at intersections and splice connectors on long runs. The process is clean, quiet, and remarkably fast. There is no waiting for glue to dry, no nails to set, no holes to patch. Just the satisfying progression of your design taking shape before your eyes.
Bringing Your Design to Life with Paint
Once all molding is installed, the moment arrives when your project truly comes alive: the application of paint. Because your molding arrived with a paint-ready finish, you can begin painting immediately, no priming required. Choose your color thoughtfully, considering how it will interact with your wall color and the room's overall palette. For a subtle, integrated look, paint the molding the same color as the wall, allowing the shadows cast by the profiles to provide definition. This approach creates texture without contrast, perfect for spaces where you want architectural interest without bold statements. For a more graphic effect, paint the molding white against a colored wall, a classic choice that never goes out of style. For dramatic modern spaces, consider painting the molding a darker shade than the wall, creating bold definition that grounds the room. When painting, use an angled brush for the edges and a small foam roller for the broad surfaces, building coverage until the finish is smooth and uniform. As the color goes on, watch your vision become reality, a room transformed by your own hands in a single weekend, thanks to the beautiful simplicity of self-adhesive molding with paint-ready finish.